Integrating the camera driver into MicroPython.
Programming the esp32-cam processor
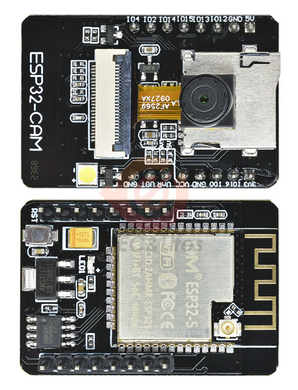
The esp32-cam does not come with a serial USB interface as many other ESP32 processor boards do. This makes programming the device quite a bit more tricky.

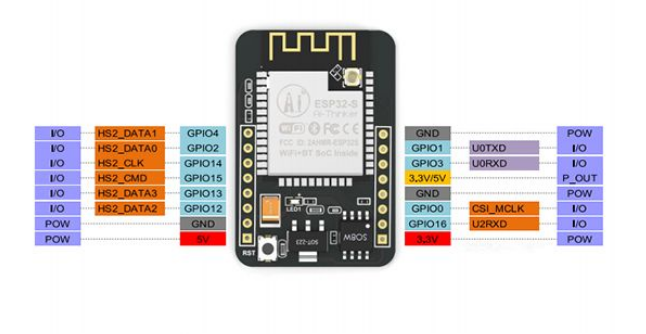
Having a look at the pin-out we see that GPIO 1 and 3 are connected to UoTXD and U0RXD respectively.

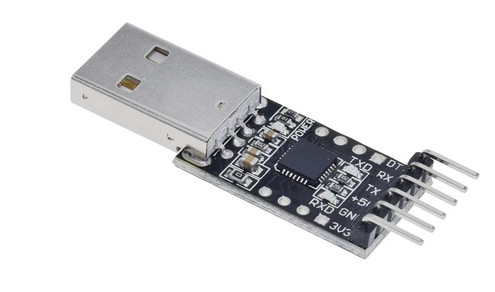
These will be the programming pins connected to USB to serial converter.

Here are the connections:
| ESP32-cam |
|
| Power 5V left side of esp32-cam |
external power supply 5V |
| GND left side of esp32-cam |
external power supply GND |
| GND top right of esp32-cam |
USB to serial GND |
| U0TXD |
USB to serial RX |
| U0RXD |
USB to serial TX |
| GPIO 0 |
connect to GND when flashing |
| GND |
|
In order to understand how to program the device the circuit diagram will be very helpful.
https://iotworkshop.africa/pub/AFNOG/DriverIntegrationIntoNopMicroPython/ESP32_CAM_V1.6.pdf
To flash a new program into the esp32 flash we must first connect GPIO 0 to ground, which can be done with a simple jumper. Then we can erase the flash with:
esptool erase_flash
I give the command with power on the esp32-cam off and switch power on as soon as esptool tries to connect to the esp32
Finally we can flash the program:
esptool write_flash --flash_size=detect --flash_mode dio 0x1000 binaryToBeFlashed
Again I give the command with power to the esp32 off and switch power on as soon as esptool tries to connect to the esp32.
This procedure will allow to flash our
custom MicropPython with the camera driver installed.
--
 Uli Raich - 2020-01-25
Comments
 Having a look at the pin-out we see that GPIO 1 and 3 are connected to UoTXD and U0RXD respectively.
 These will be the programming pins connected to USB to serial converter.
 Here are the connections:


