
Installing a Foswiki Server
 This page explains how to install a Foswiki server like the one hosting this course. The steps match how this site is set up: Foswiki 2.1.11 on Ubuntu 24.04, served by Apache with FastCGI and secured with a free Let's Encrypt certificate.
This page replaces the 2016 guide for the original TWiki server. That version is still available in the page history.
What you need
- An Ubuntu 24.04 server: a physical machine, a virtual machine or a container. 2 GB of RAM is enough; this site uses 3 GB.
- A domain name pointing to the server's public IP address. The examples below use
wiki.example.org; replace it with your own. - A user account with
sudorights.
Step 1: Install Apache, RCS and the Perl modules
Foswiki is written in Perl. It keeps the history of every page with RCS, and runs inside Apache through FastCGI. All of it comes from the Ubuntu package archive:sudo apt update sudo apt install apache2 rcs libapache2-mod-fcgid libfcgi-perl \ libalgorithm-diff-perl libarchive-tar-perl libauthen-sasl-perl libcgi-pm-perl \ libcgi-session-perl libcrypt-passwdmd5-perl libdigest-sha-perl libemail-address-xs-perl \ libemail-mime-perl libencode-perl liberror-perl libfile-copy-recursive-perl \ libhtml-parser-perl libhtml-tree-perl libio-socket-ip-perl libio-socket-ssl-perl \ libjson-perl liblocale-codes-perl liblocale-maketext-perl liblocale-maketext-lexicon-perl \ liblocale-msgfmt-perl libwww-perl liblwp-protocol-https-perl liburi-perl libversion-perlThe list of Perl modules is the official one from System Requirements.
Step 2: Download and unpack Foswiki
cd /tmp
wget https://github.com/foswiki/distro/releases/download/FoswikiRelease02x01x11/Foswiki-2.1.11.tgz
sudo tar -xzf Foswiki-2.1.11.tgz -C /var/www
sudo mv /var/www/Foswiki-2.1.11 /var/www/foswiki
sudo chown -R www-data:www-data /var/www/foswiki
Check foswiki.org/Download for a newer release and adjust the version number if there is one. Before going further, let Foswiki check that nothing is missing:
cd /var/www/foswiki
sudo -u www-data perl tools/dependencies
Step 3: Configure Apache
Create the site configuration. Only thebin (scripts) and pub (attachments) folders are reachable from the web; everything else stays private.
sudo nano /etc/apache2/sites-available/foswiki.conf
<VirtualHost *:80>
    ServerName wiki.example.org
    DocumentRoot /var/www/foswiki

    <Directory /var/www/foswiki>
        Options None
        AllowOverride None
        Require all denied
    </Directory>

    # All scripts go through one long-running FastCGI process
    Alias /bin /var/www/foswiki/bin/foswiki.fcgi
    <Directory /var/www/foswiki/bin>
        Options +ExecCGI
        AllowOverride None
        Require all granted
        <Files "foswiki.fcgi">
            SetHandler fcgid-script
        </Files>
    </Directory>

    # Attachments and images
    Alias /pub /var/www/foswiki/pub
    <Directory /var/www/foswiki/pub>
        Options -Indexes -ExecCGI -Includes -FollowSymLinks
        AllowOverride None
        Require all granted
    </Directory>

    RedirectMatch ^/$ /bin/view

    ErrorLog ${APACHE_LOG_DIR}/foswiki-error.log
    CustomLog ${APACHE_LOG_DIR}/foswiki-access.log combined
</VirtualHost>
Limit how many Foswiki processes can run at once, so the server's memory can never fill up:
sudo nano /etc/apache2/conf-available/foswiki-fcgid.conf
<IfModule mod_fcgid.c>
    FcgidMaxProcesses           5
    FcgidMaxProcessesPerClass   5
    FcgidMinProcessesPerClass   1
    FcgidMaxRequestsPerProcess  100
    FcgidIOTimeout              120
    FcgidMaxRequestLen          33554432
</IfModule>
Enable everything and check the configuration before reloading:
sudo a2enmod fcgid http2
sudo a2enconf foswiki-fcgid
sudo a2ensite foswiki
sudo a2dissite 000-default
sudo apachectl configtest && sudo systemctl restart apache2
Foswiki also offers an Apache configuration generator for other layouts.
Step 4: Configure Foswiki
Create the configuration from the command line. Use your own domain, and choose a strong password for the built-in administrator (login nameadmin). The password is typed hidden and never stored in plain text.
cd /var/www/foswiki
sudo -u www-data perl tools/configure -save -noprompt
sudo -u www-data perl tools/configure -save -set {DefaultUrlHost}='https://wiki.example.org'
sudo -u www-data perl tools/configure -save -set {ScriptUrlPath}='/bin'
sudo -u www-data perl tools/configure -save -set {ScriptUrlPaths}{view}='/bin/view'
sudo -u www-data perl tools/configure -save -set {PubUrlPath}='/pub'
read -s -p 'Admin password: ' PW; echo
sudo -u www-data perl tools/configure -save -set {Password}="$PW"; unset PW
sudo systemctl reload apache2
If you ever forget the administrator password, the last three lines reset it.
Step 5: Turn on HTTPS
sudo apt install certbot python3-certbot-apache
sudo certbot --apache -d wiki.example.org
Certbot creates the HTTPS version of the site, redirects plain HTTP to it, and renews the certificate automatically.
Step 6: Log in and check the installation
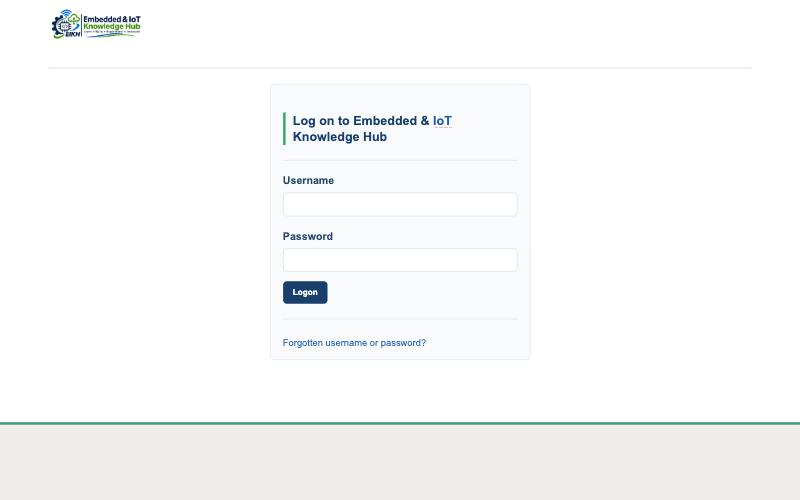
Openhttps://wiki.example.org and log in with the login name admin and the password from step 4.
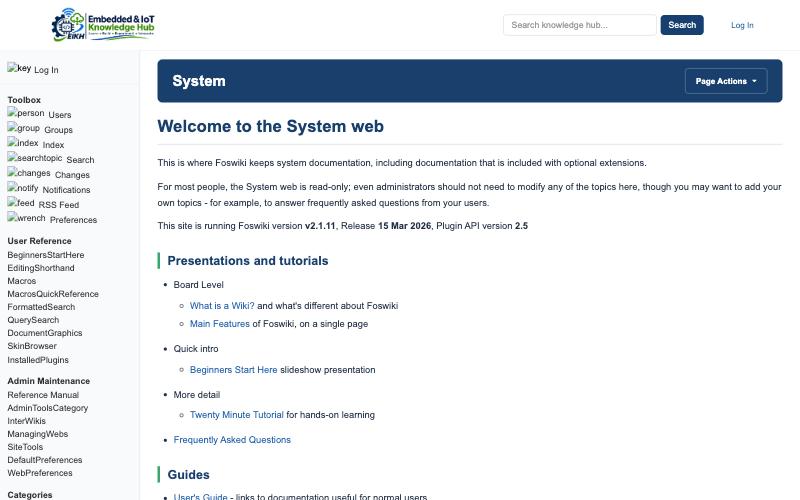
 Then open the System web. It shows the Foswiki version that is running:
 For everyday work, register a personal account and add it to AdminGroup, instead of using the built-in
admin login. See Installation Guide for details.
Step 7: Protect the server
A public wiki attracts crawlers and spam bots. These settings come from problems this site actually had:- Only logged-in users may edit. In each web's
WebPreferencespage, setDENYWEBCHANGE = %USERSWEB%.WikiGuest. - Keep crawlers away from expensive pages. Serve a
robots.txtthat disallows/bin/edit,/bin/rdiff, the System web, and URLs with query strings. - Block endless table-sorting links, which crawlers follow forever:
<If "%{QUERY_STRING} =~ /sortcol.*sortcol/i"> Require all denied </If> - Allow enough connections. With FastCGI limiting the Foswiki processes, Apache itself can safely accept 100 or more connections (
MaxRequestWorkers).
The result
Once the course webs are in place, the site looks like this: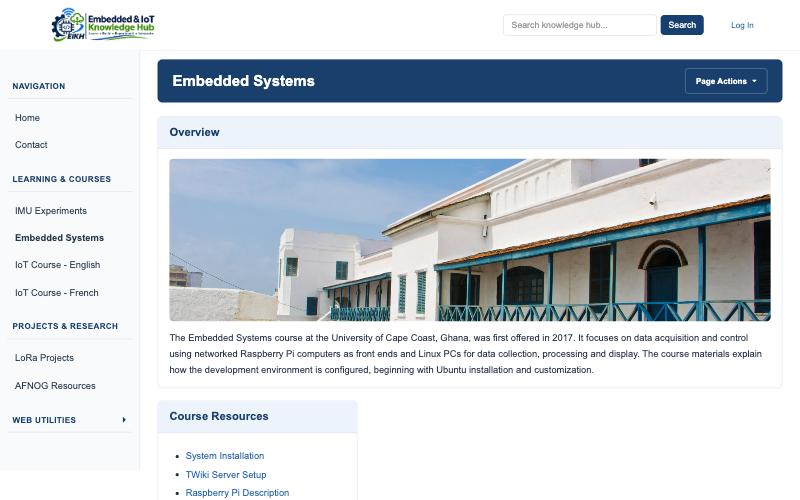
Further reading
- Installation Guide: the complete official guide, shipped with Foswiki
- System Requirements: the required Perl modules for each Linux distribution
- foswiki.org: downloads, extensions and support
Comments
Topic revision: r6 - 17 Nov 2026, IsaacArmahMensah