RGB LEDs
Introduction
When construction the virtual world demo we will use two different types of sensors- an RGB color sensor giving us the color of a paper sheet
- an ultrasonic distance sensor determining the distance between the paper sheet and the sensor.
|
KY-009 SMD LED needing external resistors |
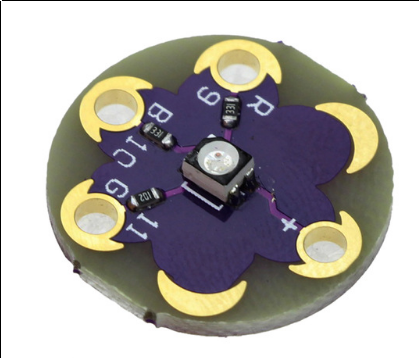
LilyPad Tri Color LED |
|
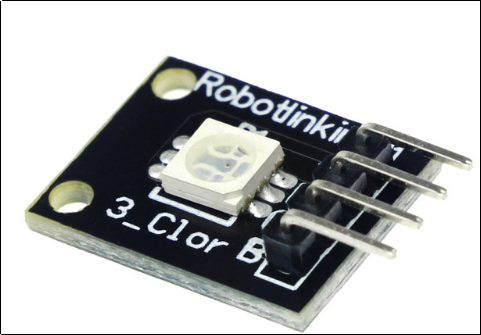
Standard 3 color LED with resistors on board |
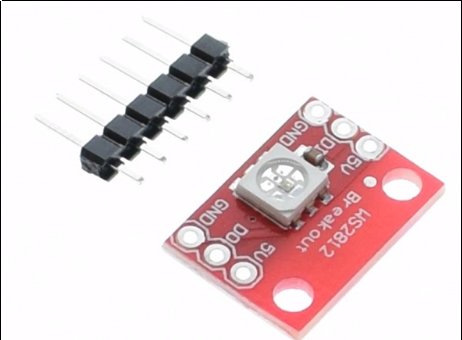
WS2812 "intelligent" LED |

Programming the LEDs
It is an excellent introductory exercise to try programming the LEDs and we will go about it in steps. First the device must be connected to the Raspberry Pi controller which is done through the cobbler and the bread board. Depending on the breakout board used we will need additional external 330 Ohm resistors on each of the color components (KY-009). Then we connect as follows:- - -> Gnd
- red -> gpio 18
- green -> gpio 17
- blue -> gpio 22
Comments


| I | Attachment | History | Action | Size | Date | Who | Comment |
|---|---|---|---|---|---|---|---|
| |
2018-01-30-182614_520x384_scrot.png | r1 | manage | 143.8 K | 2018-01-30 - 17:27 | UliRaich | |
| |
ky-009.png | r1 | manage | 145.5 K | 2018-01-30 - 17:15 | UliRaich | |
| |
lilyPadTriColorLED.png | r1 | manage | 152.5 K | 2018-01-30 - 17:15 | UliRaich | |
| |
rgbLED-1.png | r1 | manage | 128.6 K | 2018-01-30 - 17:15 | UliRaich |

Ideas, requests, problems regarding TWiki? Send feedback