Exercise 3: Switches
Introduction
Switches exist in various incarnations. There are the simple mechanical switches: on/off or push button switches but there are also switches than turn on or off with various external conditions:
- temperature
- infra red radiation (e.g. the Passive Infrared Sensor or PIR sensor)
- Hall switches detecting magnetic field
- microphone switches which turn on when a certain noise level is detected
In this exercise we will use a mechanical push button switch

and a PIR sensor.
Exercise 1:
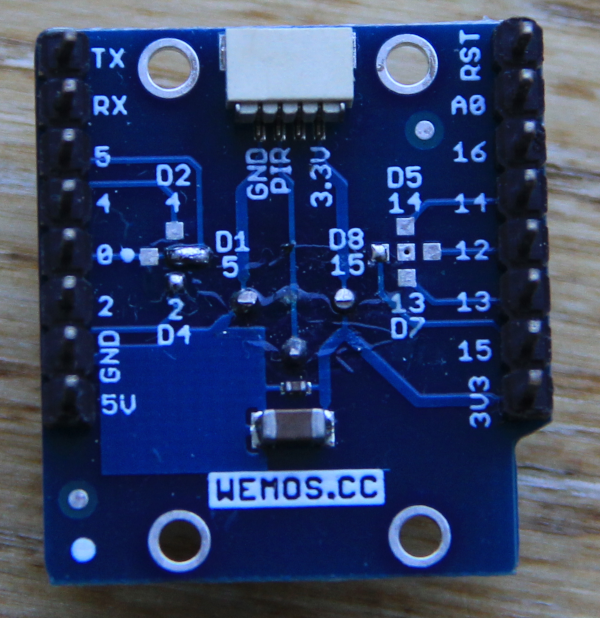
The push button switch is connected to GPIO 22 on the ESP32 board.
Write a script that polls the state of the switch every 100 ms and prints state changes (only print out a message when the switch state has changed). Catch <ctrl> C to smoothly exit the program.
Check
https://docs.micropython.org/en/latest/esp8266/tutorial/pins.html 
and
https://docs.micropython.org/en/latest/esp32/quickref.html for information on how to accomplish this.
Exercise 2:
Do the same thing as in exercise 1 but use external interrupts and a callback routine to do the job.
Exercise 3:
Combine this exercise with the exercise on LEDs: Switch the built-in LED on when the button is pressed and off when it is released
Exercise 4:
Modify exercise 3 such that a single push-and-release will switch the LED on, and a second push-and-release will switch it off again. This type of switches you find e.g. on table lamps. You may find that your program sometimes does not work as expected, which may be due to
switch bouncing. In this case please modify your program adding a debounce algorithm to it. You can write a software debouncer, waiting a short while after a switch state change (typically ~ 10 ms) making sure that the switch level has stabilized.
Exercise 5:
The ESP32 has an interface to read capacitive touch sensors (see
https://docs.micropython.org/en/latest/esp32/quickref.html?highlight=touchpad). Write a program to read out the touch sensor and to find out if a wire is touched or not. You may use this again to switch on and off LEDs.
Exercise 6:
Write a program scanning the PIR sensor, indicating if a person is close. The PIR sensor, just like the push button, uses a single GPIO line as input. The boards allow choosing which GPIO to use, and I selected D1 = GPIO 22
Exercise 7:
The sensor kit in the lab contains a big number of sensors acting like switches:
- rolling ball switch
- mercury switch
- noise level detector (microphone)
- hall sensor (detecting magnetic field)
- reed relay (detecting magnetic field)
- and many more...
Connect these sensors to the ESP32 and try them with the programs developed in exercise 1-3
--
 Uli Raich - 2020-05-06
Comments


