Final Feedback
It been a great time working with you. Ever since i took this project, i have a learn a lot especially with the Arduino devices and Bluetooth stuffs like the command line interface. It was awesome. But this project was accomplished based on successive week intervals. The starting week was based on the installing of the software from Github. But there was issues with the software (Arduino) from Github, so we find a different way to install the Arduino software into the folder /opt/ucc/micros/arduino/ from other source and everything works perfectly. The following week i try to learn something about the Arduino devices, how they work, and how they are used. Later i found that we have different types of Arduino devices like the Arduino UNO, Arduino Nano, Arduino Mega ADK, Arduino Ethernet, Arduino Leonardo and many more but this board are available depending on different micro controllers used. We were told we will be working with the UNO since it the most popular board in the Arduino board family. In addition, it is the best board to get started with electronics and coding.The actual project for the Embedded System(robot) was sub divided into four(4) namely,
- DC motor
- Ultra-sonic
- Servo control
- Bluetooth communication.
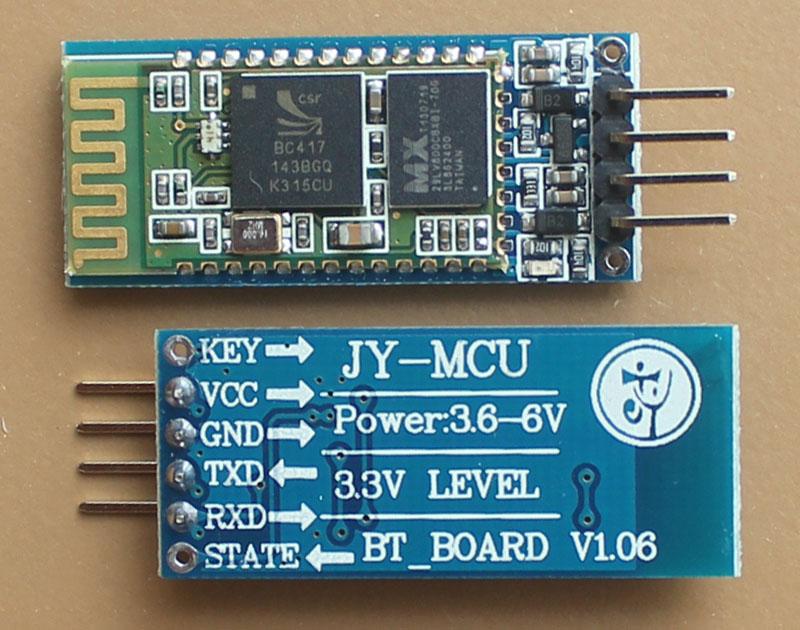
- VCC for power (voltage)
- GND for the ground connection
- TX for the transmitting
- RX for the receiving
 But one important fact about HC 06 Bluetooth module is that, it uses a power of 3.3V that means a power more that this will cause the module to burn. To over come this problem, we have to set a voltage divider by the use of resistor in other to get a 3.3V.
Before we made actual connection with the Bluetooth module, I and Shadrack decided to step it down with a 30K resistor. We made the necessary connection with the 4 pins on the Bluetooth module. The most important connection was the TX and RX since this is where the caution need to be taken and the voltage divider need to be applied.
We connected the TX pin from the Bluetooth module to the RX pin on the Arduino UNO. After that we connected a 20K resistor (10K + 10K connected in series) from the GND side of the breadboard to the RX pin of the Bluetooth module.We made a connection from the TX pin of the Arduino UNO to the breadboard and this is where we connected a 10K resistor to the RX of the Bluetooth module. After all this were done, we use the MIT App to connect and pair the Bluetooth module, unfortunately, it work and we were able to paired successfully with module and light on the module turn steadily. We were able to control the LED on the board since there is a little problem with code we wrote. We are hoping to solve this issue when we start our week of focusing on the project.
One more thing, we encountered an error uploading the code. But it was solve in week 6 since the error was as a result of the username not part of the dialout group. With the command "sudo usermod -a -G dialout username" error won't be encountered.
Comments
Ideas, requests, problems regarding TWiki? Send feedback

