Report of Ultrasonic Distance Measurement Project
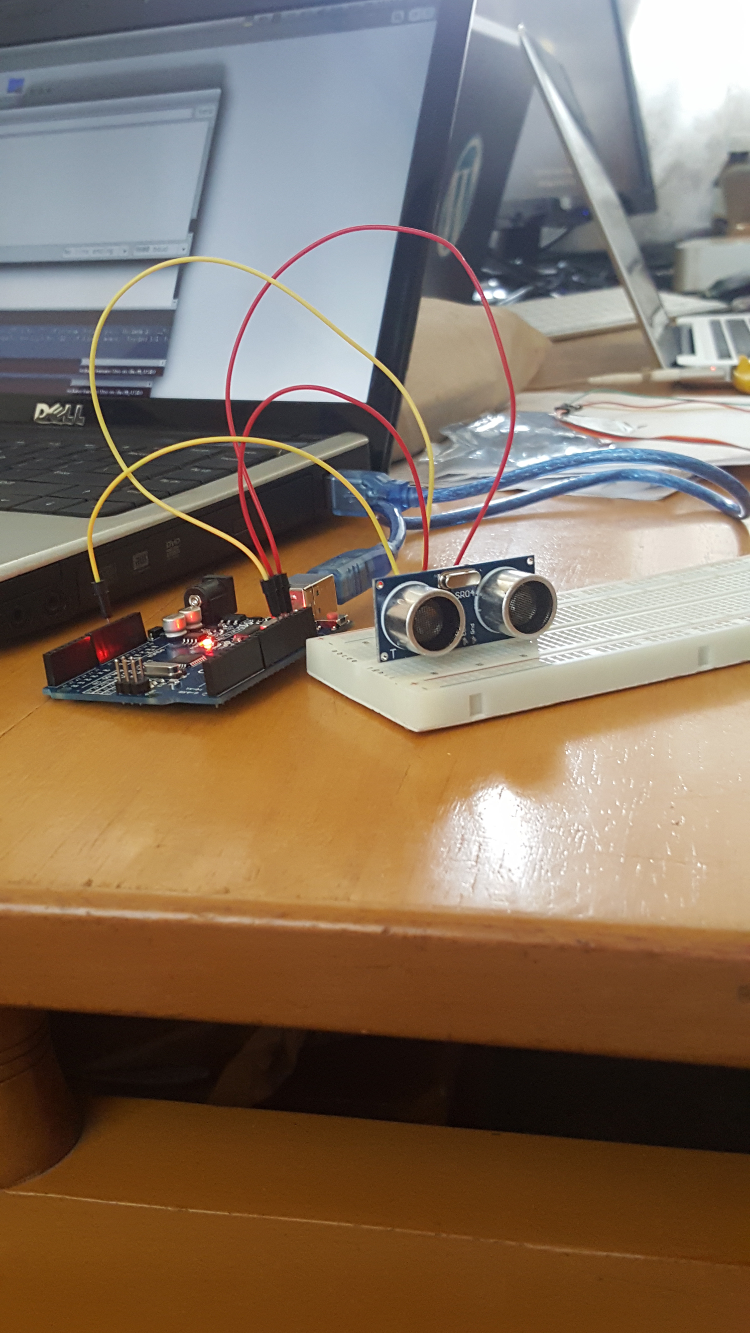
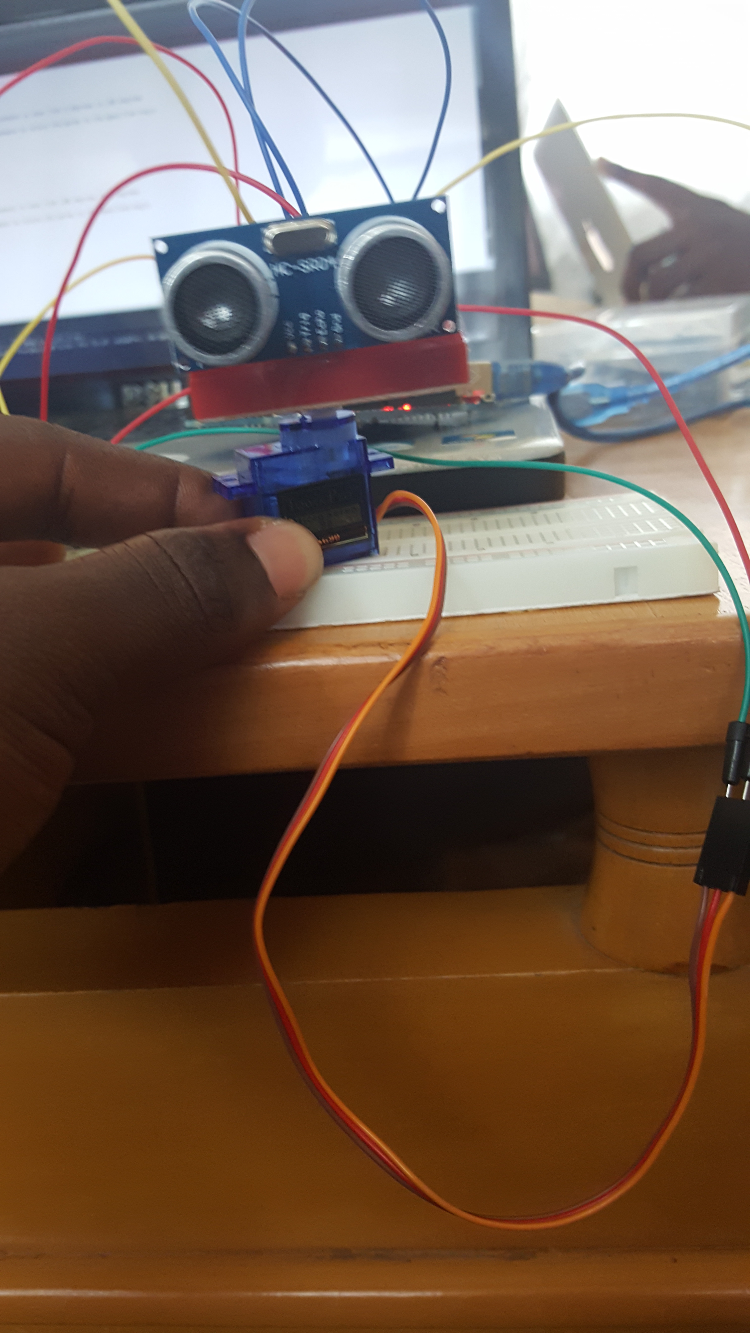
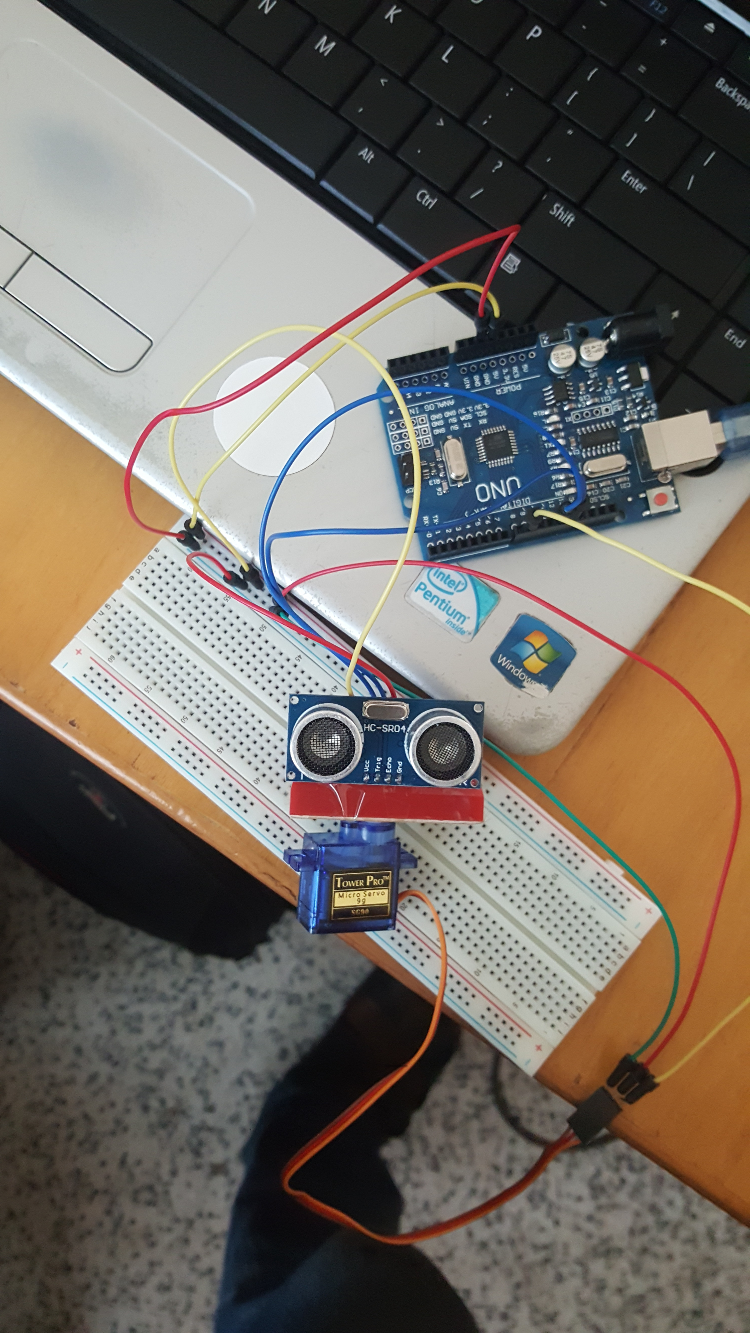
The Arduino is a small intelligent integrated circuit board with its brain (processor) as the ATMEGA microcontroller. With the right codes and correct circuit integration it can control all components (shields) attached to it to perform a specific task. We started with the basic task in Arduino programming, which is the blinking LED program. We achieved this by writing codes to send 0(LOW) and 1(HIGH) voltage signals to defined pins on the board after particular time interval (1 second). The LED goes on for 1 second and goes off for another second, and the process iterates infinitely. We run the codes both on the online simulator and the Arduino board, and it worked perfectly. Codes to this program are attached to the mail tagged [BL]. Later, the project was shared among us to contribute to parts of the robot, after we had a class session to learn basic Linux commands and installation of the software. We (Richmond and Enoch) were given the ultra-sonic distance measurement sensor as our part. We learned that the ultra-sonic distance measurement sensor calculates the distance between itself and an obstacle in front of it by sending ultra-sonic waves to the obstacle, and the waves are returned to the sensor. Based on the time of travel of the waves back and forth, the distance will be calculated, with the velocity of the medium of travel as a constant (with the equation distance = velocity x time). We calculated the time it will take for the waves to reach an obstacle at a 1m range and back in air, and we found out it was approximately 2940ms. We also found out that the time it will take for the same distance in vacuum will be 0ms, since waves do not travel in vacuum. You then asked us to find out the library used for the sensor and the parameter it takes. We discovered library to be the NewPing library, and the parameters are the TRIGGER, ECHO and the MAX_DISTANCE, which send signals, receive signals and set timeout respectively. Next, we wrote a program for a LED to give an SOS (Morse) signal. The Morse signal follow the pattern three short blinks, three long blinks, three short blinks, and the cycles iterates infinitely. We wrote the program and it worked perfectly, both on the simulator and on the Arduino board. Codes to this program are attached to the mail tagged [SOS]. Recently (this week) we used to the NewPing library to write codes to calculate the distance between the sensor and an obstacle. We observed the distance change on the terminal as we alternate the distance by moving an object to and fro the sensor. Codes to this program is attached to the mail tagged [UDM]. We then taped the sensor to the servo motor which was programmed by the servo contributors (Ruth and Matilda), and we merged the codes to calculate the distance and the angle the servo motor turns. So as the servo motor turns between an angle of 0deg and 180deg, the distance between objects before the sensor and the angle of oscillation of the servo motor is printed to the terminal. Codes to this program is attached to the mail tagged [UDMwS]. This part of the project encouraged us, and we were so happy to see the eye and neck of the robot work perfectly together.  |
 |
 |
| Ultrasonic sensor connected to Arduino | Ultrasonic sensor mounted on servo motor | Combined experiment: ultrasonic sensor on servo connected to Arduino |
- I was able to successfully installed the Arduino application and I also started practicing "c" since we would be using it.
- Also we met to do some training on Ubuntu since it's been a while some of us used it.
- I also read about the ultrasonic distance measurement.
- The ultrasonic sensor normally measure distance based on echo.
- It does calculation based on the traveling time and the returning time.
- I was able to test my blinking light which worked perfectly
- Answered Uli's questions
- code for the blinking LED
int pin=13;
void setup() {
// initialize digital pin LED_BUILTIN as an output.
pinMode(pin, OUTPUT);
}
// the loop function runs over and over again forever
void loop() {
digitalWrite(pin, HIGH); // turn the LED on (HIGH is the voltage level)
delay(1000); // wait for a second
digitalWrite(pin, LOW); // turn the LED off by making the voltage LOW
delay(1000); // wait for a second
} Week 3
- Sound waves are oscillations with a frequency of some Hz up to ~ 20 KHz They are transmitted through the oscillation of the atoms or molecules of the medium (for us mostly air).
- Concerning the vacuum, since there are no atoms/molecules in vacuum, there is total silence
- humans can only hear frequencies up to 20kHz
- the SOS is a distress signal with the 'S' being the three dits and the 'U' being the three dals.
- I wrote a code in the simulator the url : https://circuits.io/circuits/4515295-the-unnamed-circuit/edit

- code for the sos blinking LED
// give it a name:
int led = 13;
int s = 200;
int o = 650;
//innitializing the s and o
// the setup routine runs once when you press reset:
void setup() {
// initialize the digital pin as an output.
pinMode(led, OUTPUT);
}
// the loop routine runs over and over again forever:
void character(int speed) {
digitalWrite(led, HIGH); // turn the LED on (HIGH is the voltage level)
delay(speed); // wait for a second
digitalWrite(led, LOW); // turn the LED off by making the voltage LOW
delay(200); // wait for a second
}
void loop(){
for(int x=1; x<=3; x++){
character(s);
}
delay(700);
for (int x=1; x<=3; x++){
character(o);
}
delay(700);
for (int x=1; x<=3; x++){
character(s);
}
delay(2000);
} Week 4 & 5
- I downloaded the newping library.
- I moved it to the libraries in the arduino folder
- In the arduino IDE i imported the newping library by going to "Sketch - include library - Newping".
Comments
| I | Attachment | History | Action | Size | Date | Who | Comment |
|---|---|---|---|---|---|---|---|
| |
20170429_111108.png | r1 | manage | 1308.3 K | 2017-05-01 - 13:47 | UnknownUser | |
| |
20170429_114856.png | r1 | manage | 1189.4 K | 2017-05-01 - 13:50 | UnknownUser | |
| |
20170429_115852.png | r1 | manage | 1386.8 K | 2017-05-01 - 13:50 | UnknownUser | |
| |
BL.ino | r1 | manage | 0.5 K | 2017-05-01 - 10:52 | UnknownUser | |
| |
UDM.ino | r1 | manage | 0.4 K | 2017-05-01 - 10:52 | UnknownUser | |
| |
UDMwS.ino | r1 | manage | 1.5 K | 2017-05-01 - 10:52 | UnknownUser |
Ideas, requests, problems regarding TWiki? Send feedback


